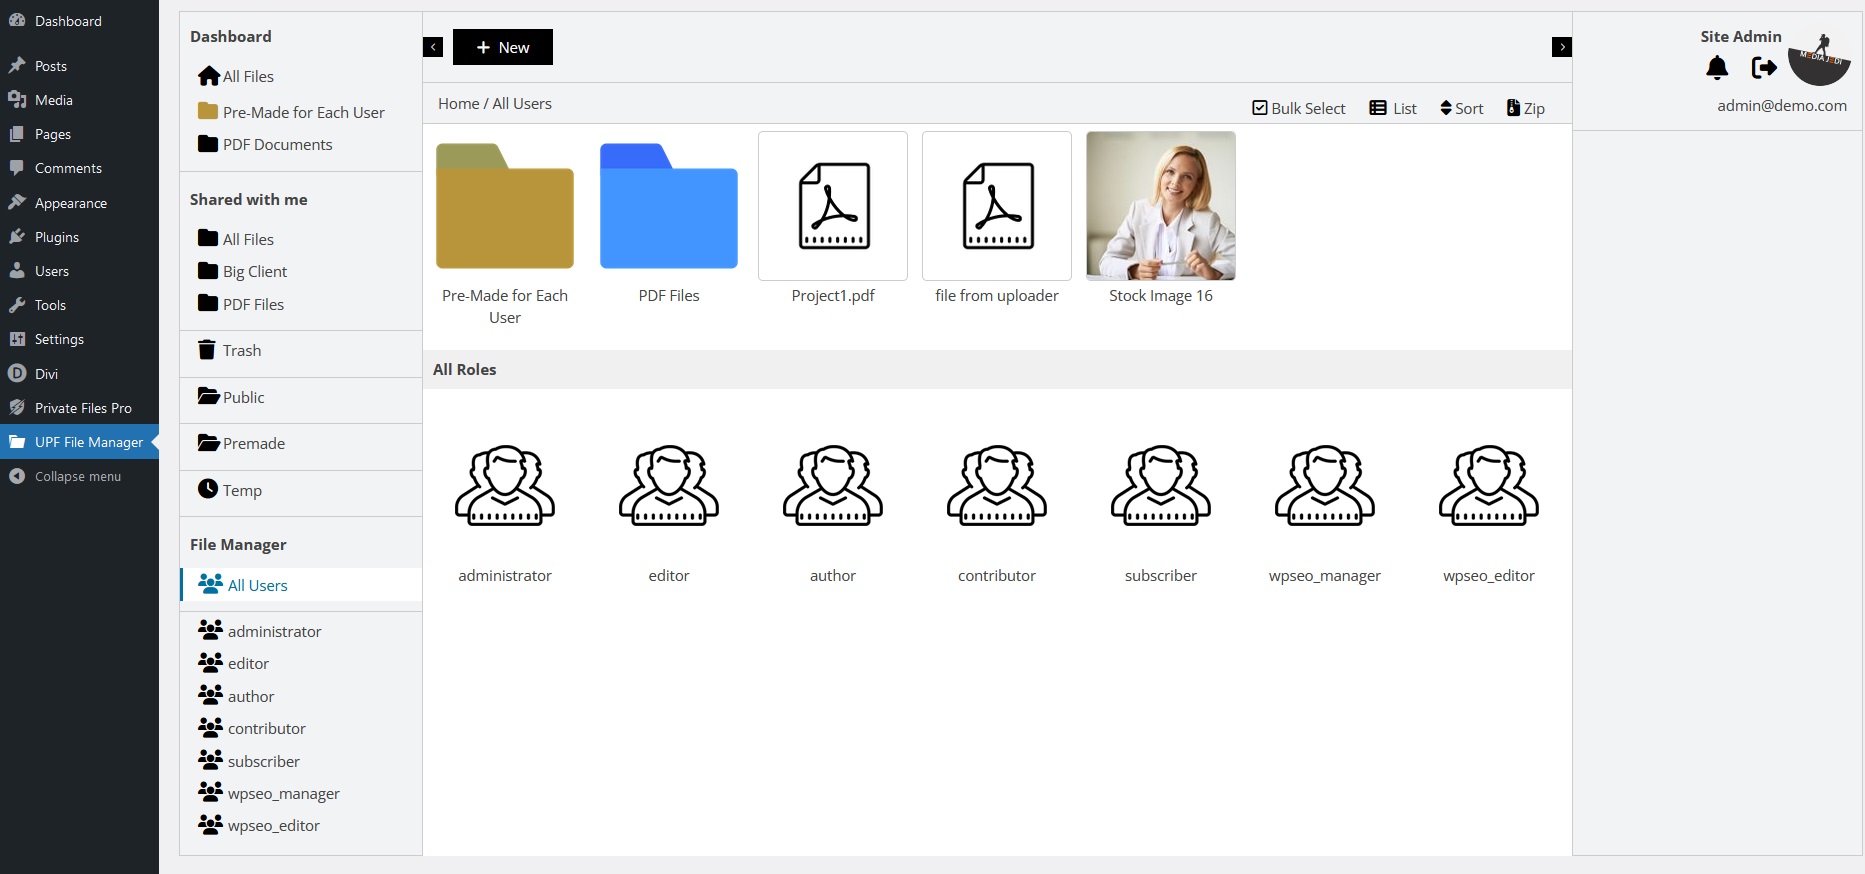
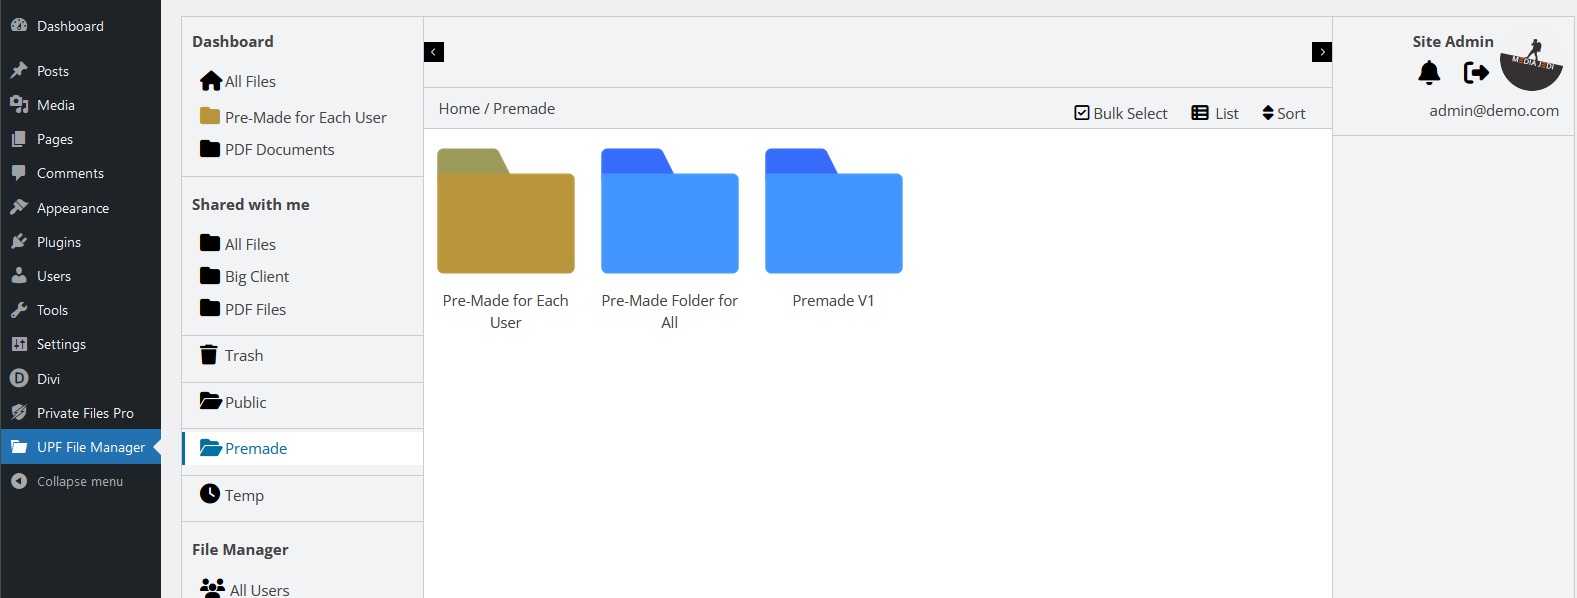
The first benefit of using this is that admin users do not have to leave their WP admin panel to access their files.
The second major benefit is that admin can access folders and files from all other users via this file manager.
You can manage the folders and files in the same manner as the frontend file manager. Please refer to the frontend file manager docs for the basic functioning and tools of the file manager.
We will discuss the features that are available only in the backend file manager.
Premade Folders
The premade folders are different from the normal folders that we create in the frontend. A premade folder is the folder that an admin can create for other users.
To create a premade folder, go to “All Users” or select a role. Now click “New Folder” from under the “New” button. You will see a popup. Enter the name and select folder type and access.
There are 2 types of premade folders.
Premade Separate folder – This is unique to each user. Users will see a premade folder under their my-files section by default like they have created that folder but they can not remove that folder. They will have a view and upload access to that folder. When you create this type of folder, you don’t need to select the access level as it will be view and upload access.
An admin can upload a file (e.g. Instructions) in this folder which will be available with view only access to the users.
Let’s take an example. An admin user created a premade (separate type) folder named “Documents” for the Subscriber role and uploaded a file named “Site Rules and Regulation.pdf”. Now when a subscriber user login to the site, he will see the “Documents” folder under his my-files section. He can view the files uploaded by the admin in this folder and can upload his own files as well but his files will only be visible to himself and admin.
A premade separate folder is served to the users uniquely which means that all users will see their own files and files uploaded by admin in that folder.
You can change the thumbnail for premade separate folders from the customizer tab under the settings to differentiate these folders.
Premade Shared folder – This will be a common folder that other users share among them. A premade shared folder will be visible under the “Shared with me” section for users. This type of folder behaves like a common folder shared with other users.
You can select from 3 access levels – view only, view and upload, and full access.
Example – An admin creates a premade shared folder with name “Memories” for author role with view and upload access level. Now when a user with author role logs in, he will see this folder under “Shared With Me” section and when he uploads a file in this folder, it will be visible to all author and admin users.
Tip: You can manage the premade folder under the premade section in the left panel. You can remove existing roles and share with new roles or users.
Temp and Zip Files
You would need to have the zip extension installed on your website. Please refer to this article to know more about the zip functionality in the User Private Files PRO plugin.
Browse Users, roles and their files
– Click All Users to access files and folders shared with all users which also include premade folders. It will display a list of user roles too.
– Click on a role to access the files and folders that are shared with that specific role. It will also list the users in that role.
– Click on a user from the role to see his files and folders. It will also display his files and folders from shared-with-me and trash sections.
As an admin, you can manage these files and folders with full access level.
Storage and Shortcodes
When you click a file, the size of it is displayed in the right sidebar. The size of the files is also displayed in the list view.
Click on a folder or file to view its shortcode in the right sidebar. Copy and paste this shortcode in a page to view the selected file or folder. Visit this article to know more about how to use the [upf_selected_files] shortcode.
Public Files
To upload and display public files, follow these steps:
– Got to ‘UPF File Manager’ from WordPress admin dashboard.
– Click on the “Public” folder from the left panel.
– Upload your files that are meant for the public.
– Now copy the shortcode displayed in the right sidebar that looks like this – [upf_public_folder id=”public-files”]
– Paste this shortcode in a page and your public files will be available on your site.
You can also create a folder first and then upload your files inside. Open that folder and use the shortcode printed on the right sidebar if you just want to display that specific folder.
If you want to display a particular file only, then open the file and use the shortcode from the right sidebar panel.

