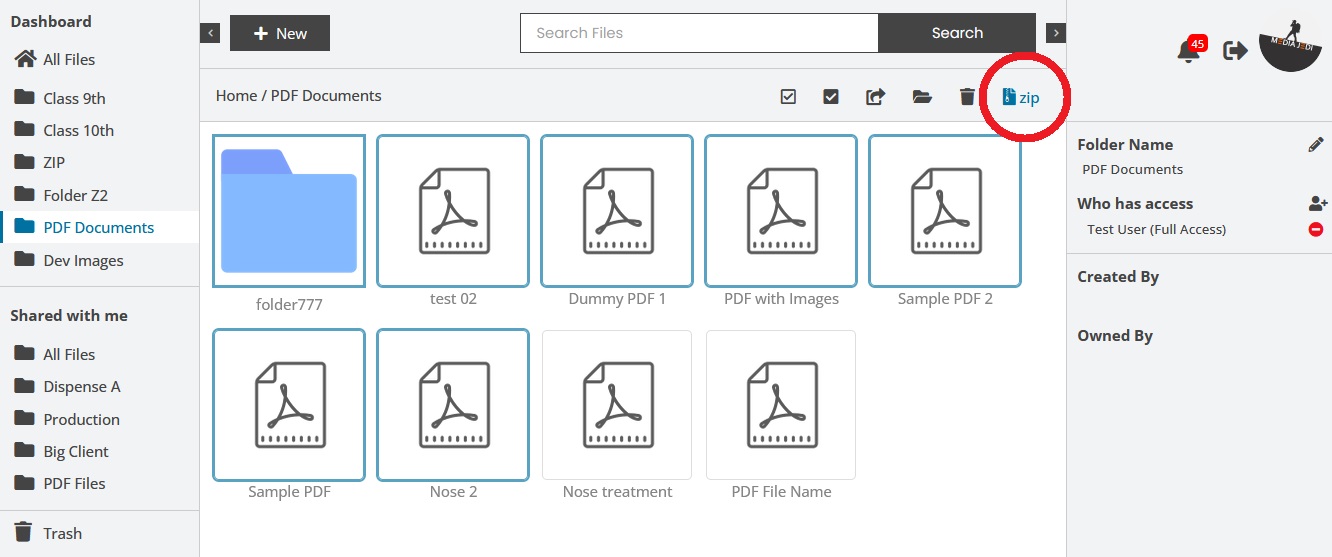
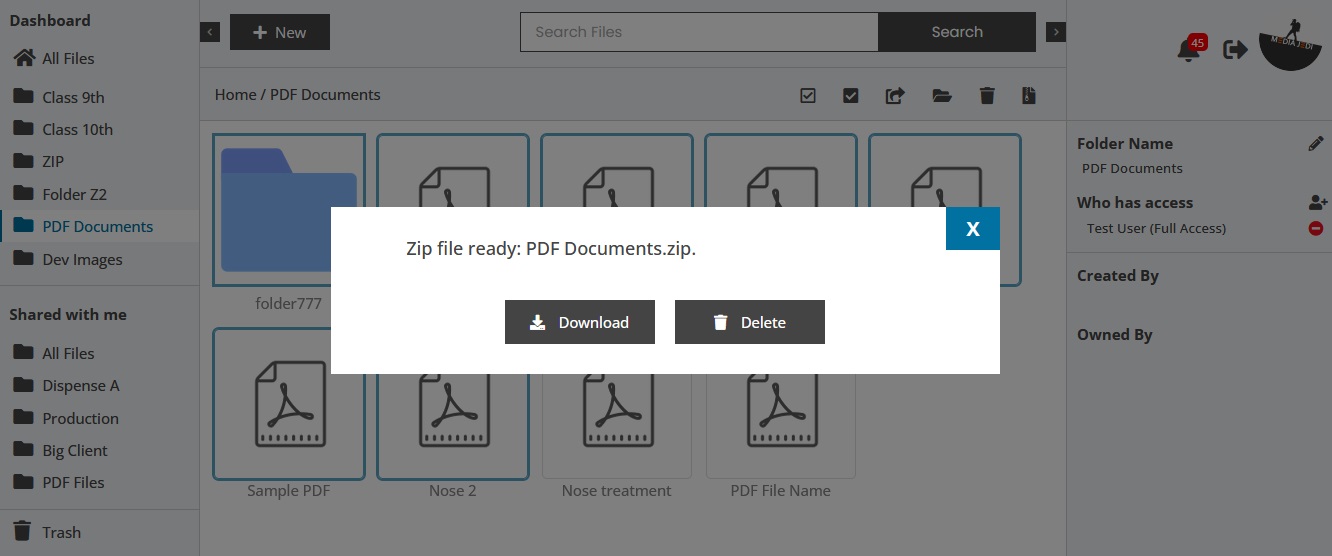
You can bulk select some files or a folder and create a ZIP file to download.
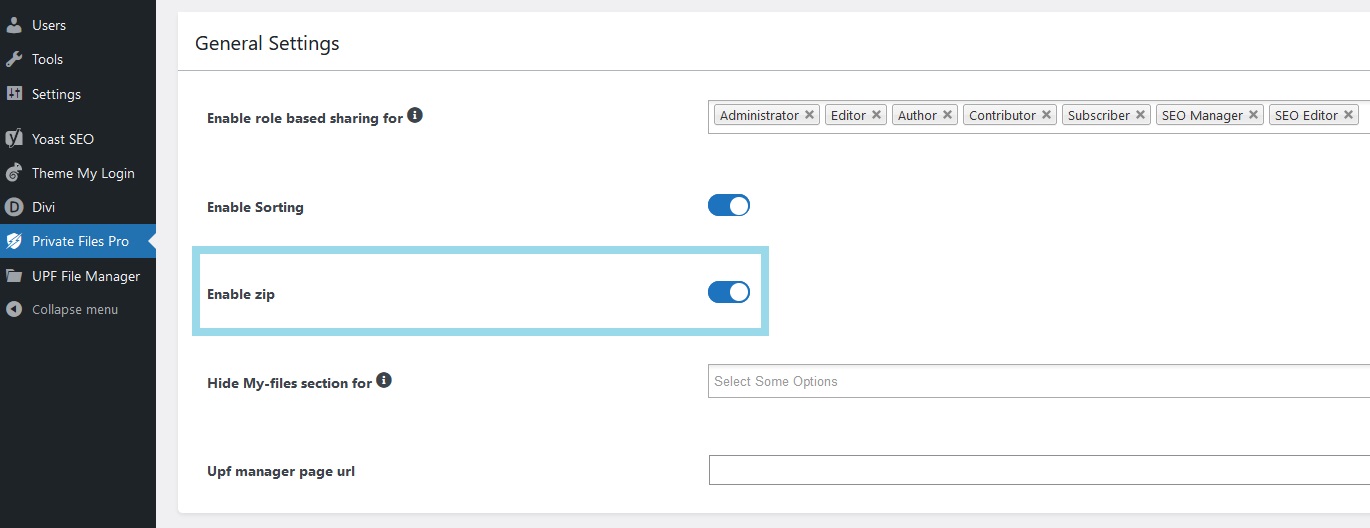
To Enable this feature first go to WordPress Dashboard (must be logged in as a admin) then select ‘User Private Files Pro’ Menu item from left sidebar. It will open all Settings related to UPF Plugin.
Now scroll down to ‘General Settings’ and you will see “Enable ZIP” toggle option. Turn ON to enable ZIP feature. Click on SAVE from bottom of the screen. (if settings does not save please refer to troubleshooting steps by end of this article)
Troubleshooting
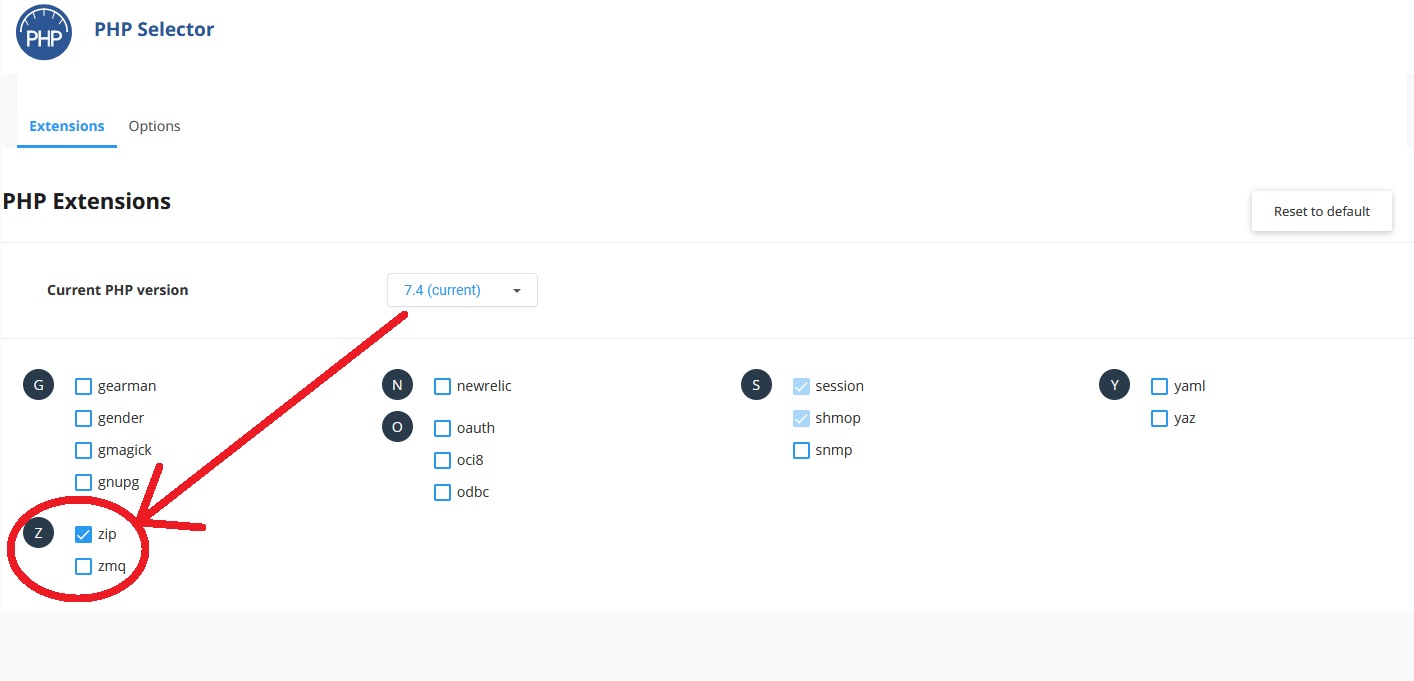
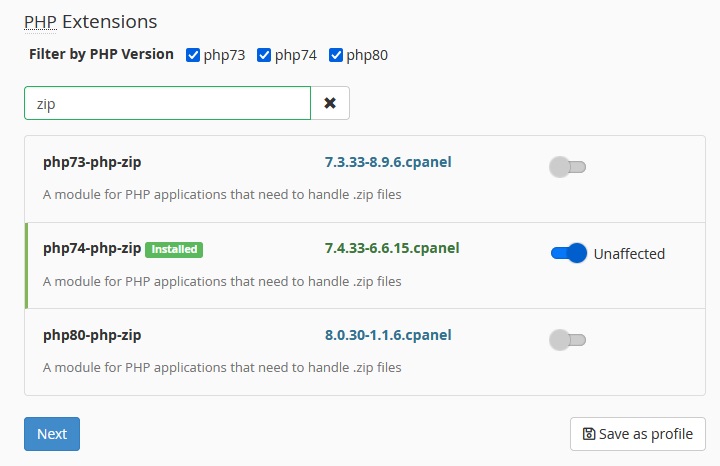
To get ZIP functionality to be working you need ZIP Extension of PHP enabled on your hosting. You can simply ask your hosting provide to enable this for you or you can do it yourself but instruction may be different depends on your hosting provider.
– First Login to your cPanel/hosting account and find ‘Select PHP Version’.
– Find Extension called ‘zip’ and enable & save.
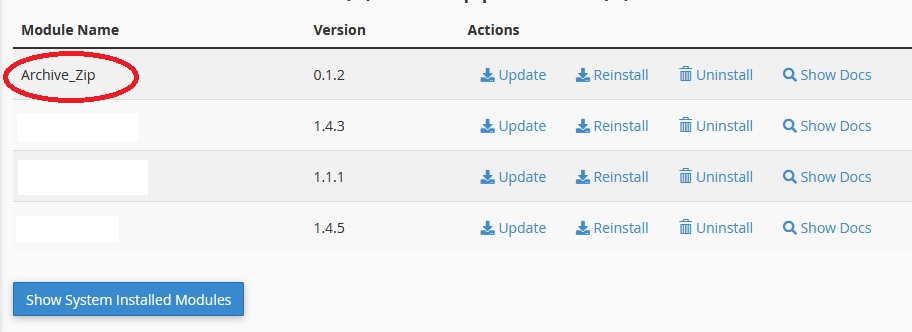
Navigate to PHP-Pear-Package >> Installed Modules
